Installing Zabbix 5.0 LTS on CentOS 8 and RHEL 8
Zabbix is an enterprise-class open source monitoring solution designed to monitor the performance and availability of network servers, devices, applications, and database engines. This guide provides a detailed walkthrough to configure a fully functional Zabbix 5.0 LTS server on CentOS 8 or RHEL 8 using Apache web server, PHP, and MariaDB database.
Step 1: Check System Time and Synchronization
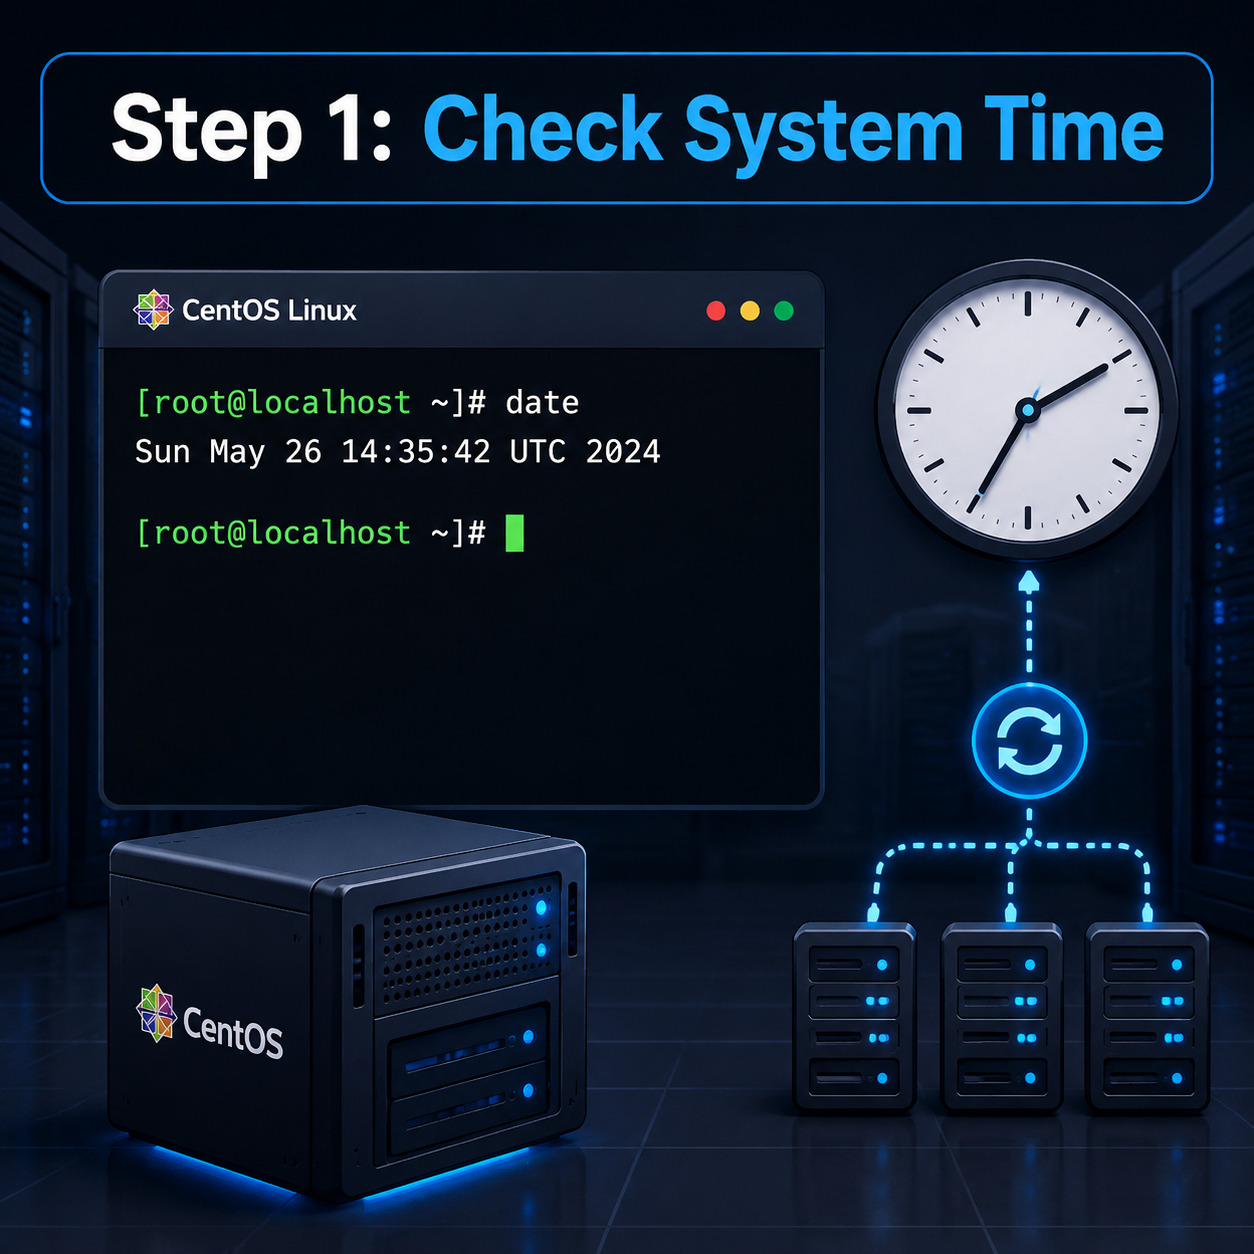
Monitoring systems rely heavily on precise timestamps. If the server clock is inaccurate, database logging, alerts, and time-series graphs will display incorrect information. You should check your current server time and verify that network time synchronization is active.
Command to view date and time:
date
It is recommended to use the chrony service to synchronize your clock with global network time servers.
Step 2: Log in with Root Access
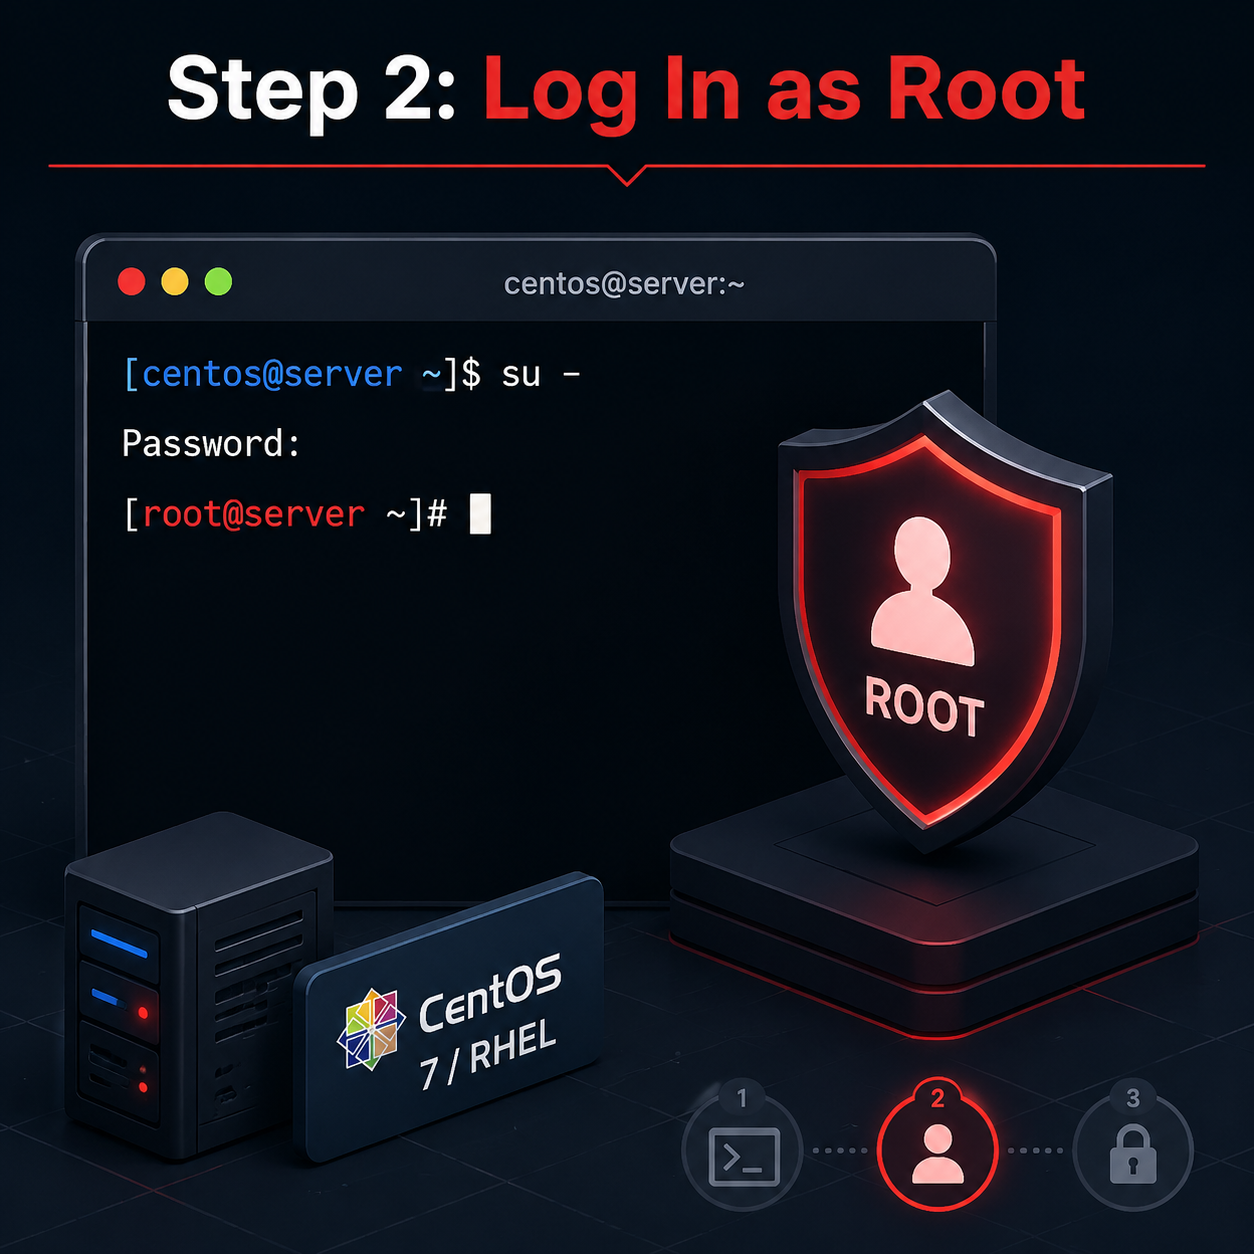
All system-level configurations, package installations, and service modifications require administrative privileges. Switch to the root user account before proceeding.
Command:
su -
Step 3: Handle Security-Enhanced Linux (SELinux)
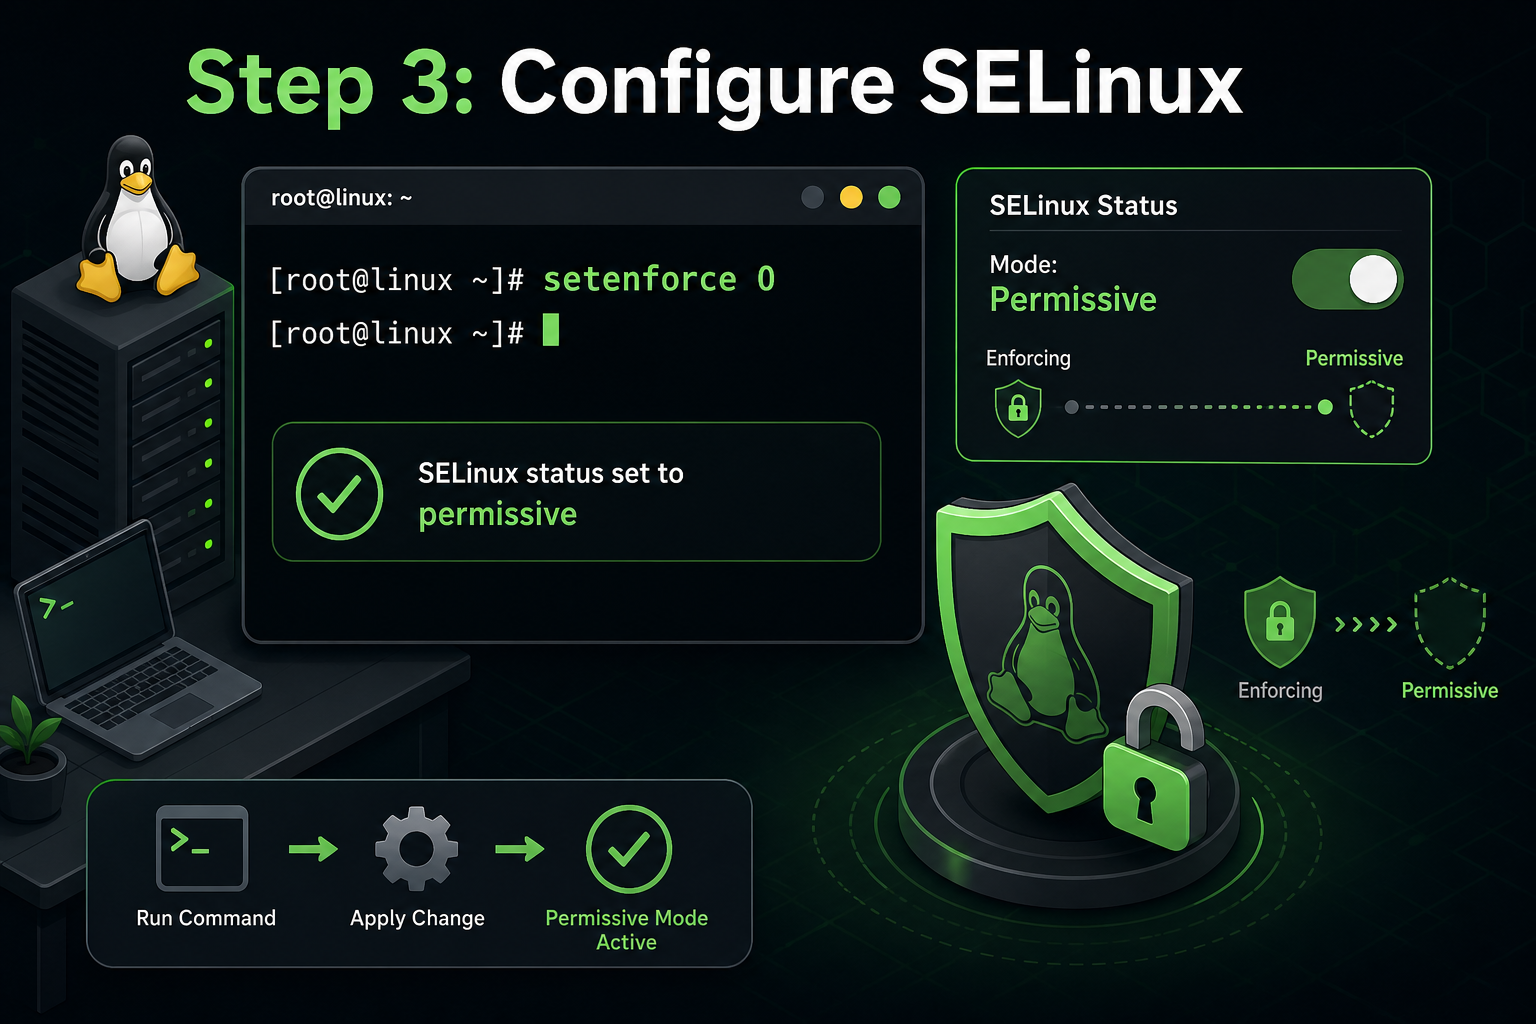
SELinux adds access controls to the operating system. If you choose to configure custom rules manually later, you can leave it active. However, to prevent initial connection issues between the web server, database, and Zabbix daemon, you can switch SELinux to permissive mode.
Commands:
setenforce 0
sed -i 's/^SELINUX=/SELINUX=permissive/g' /etc/selinux/config
cat /etc/selinux/config | grep SELINUX=
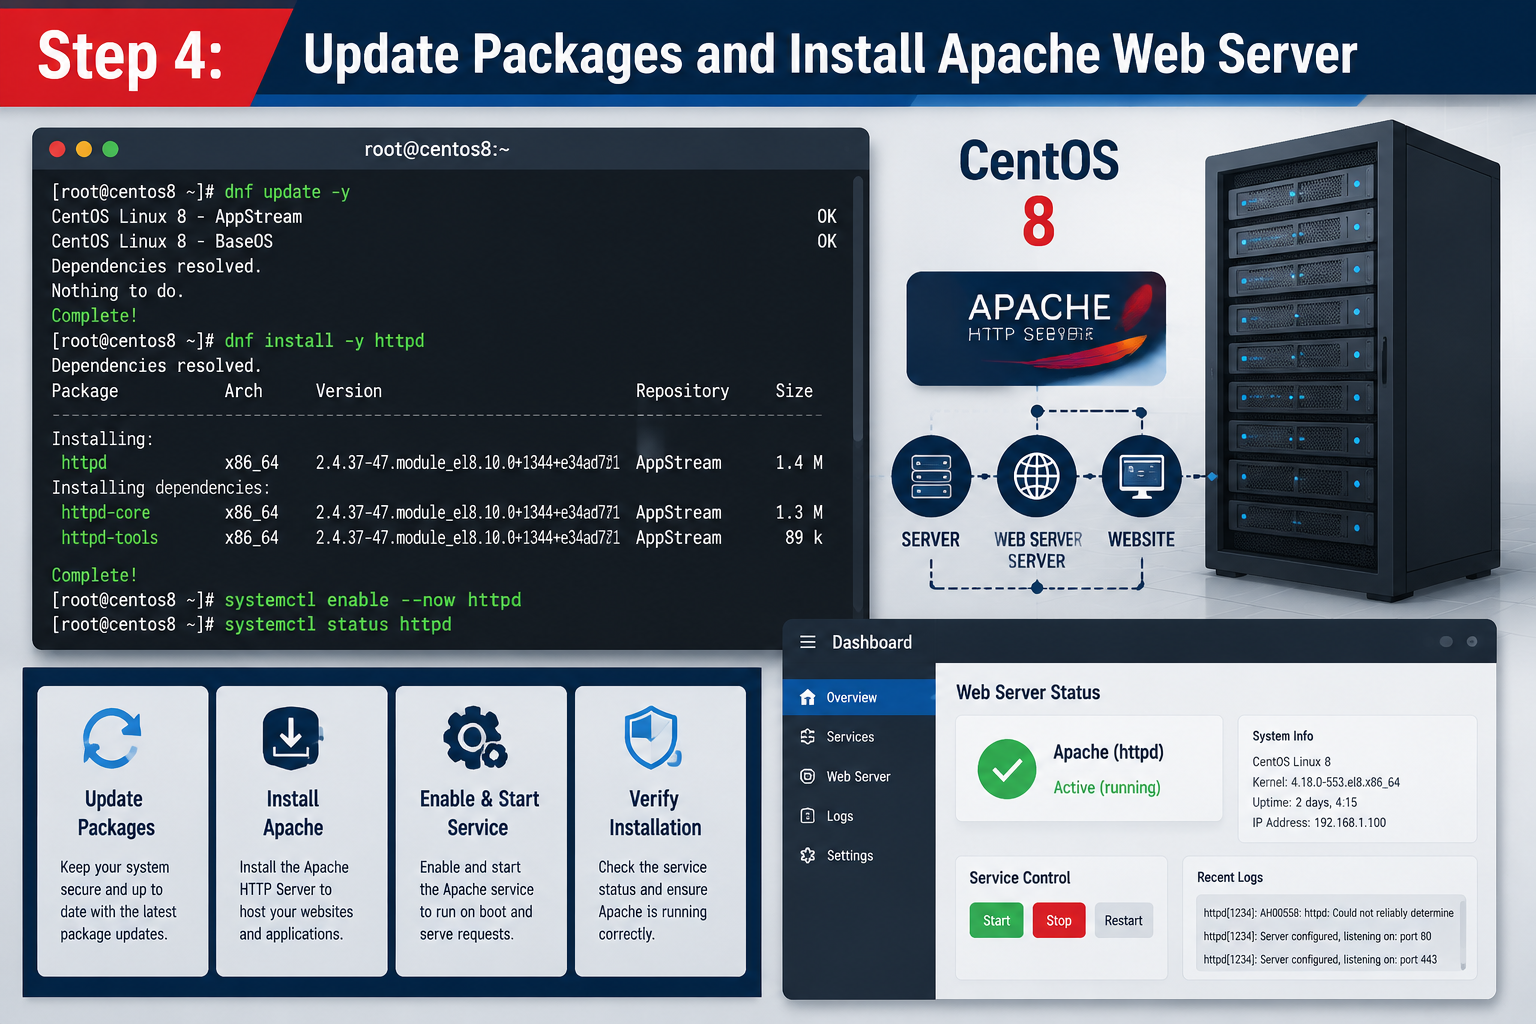
Step 4: Update Packages and Install Apache Web Server
Ensure all existing system software packages are updated to the latest stable versions. Once updated, install the Apache web server (httpd) along with utility tools like vim and net-tools.
Commands:
yum update -y
yum install httpd httpd-tools vim net-tools -y
Step 5: Install PHP and Required Modules
Zabbix web frontend is written in PHP. You must install the PHP interpreter along with specific packages required for cryptographic operations, database communication, XML parsing, and image processing.
Command:
yum install php php-cli php-common php-devel php-pear php-mbstring php-gd php-bcmath php-ctype php-xml php-xmlreader php-xmlwriter php-session php-gettext php-ldap -y

Step 6: Start and Enable Web Server Services
Activate the Apache service and PHP FastCGI Process Manager (PHP-FPM) to handle web requests. Configure both services to launch automatically when the server boots.
Commands:
systemctl start httpd php-fpm
systemctl enable httpd
systemctl enable php-fpm

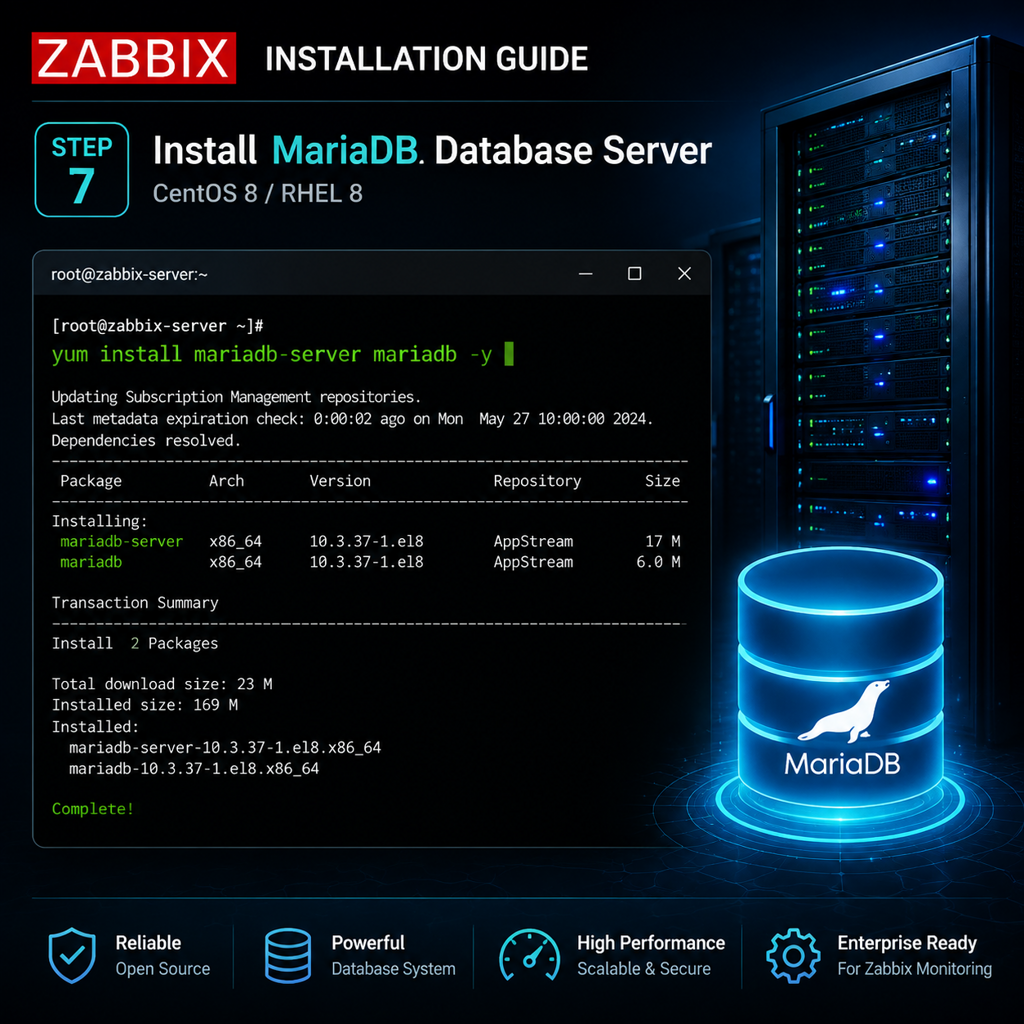
Step 7: Install MariaDB Database Server
MariaDB will serve as the storage engine for configuration values, history data, trends, and events collected by Zabbix. Install the database server package.
Command:
yum install mariadb-server mariadb -y
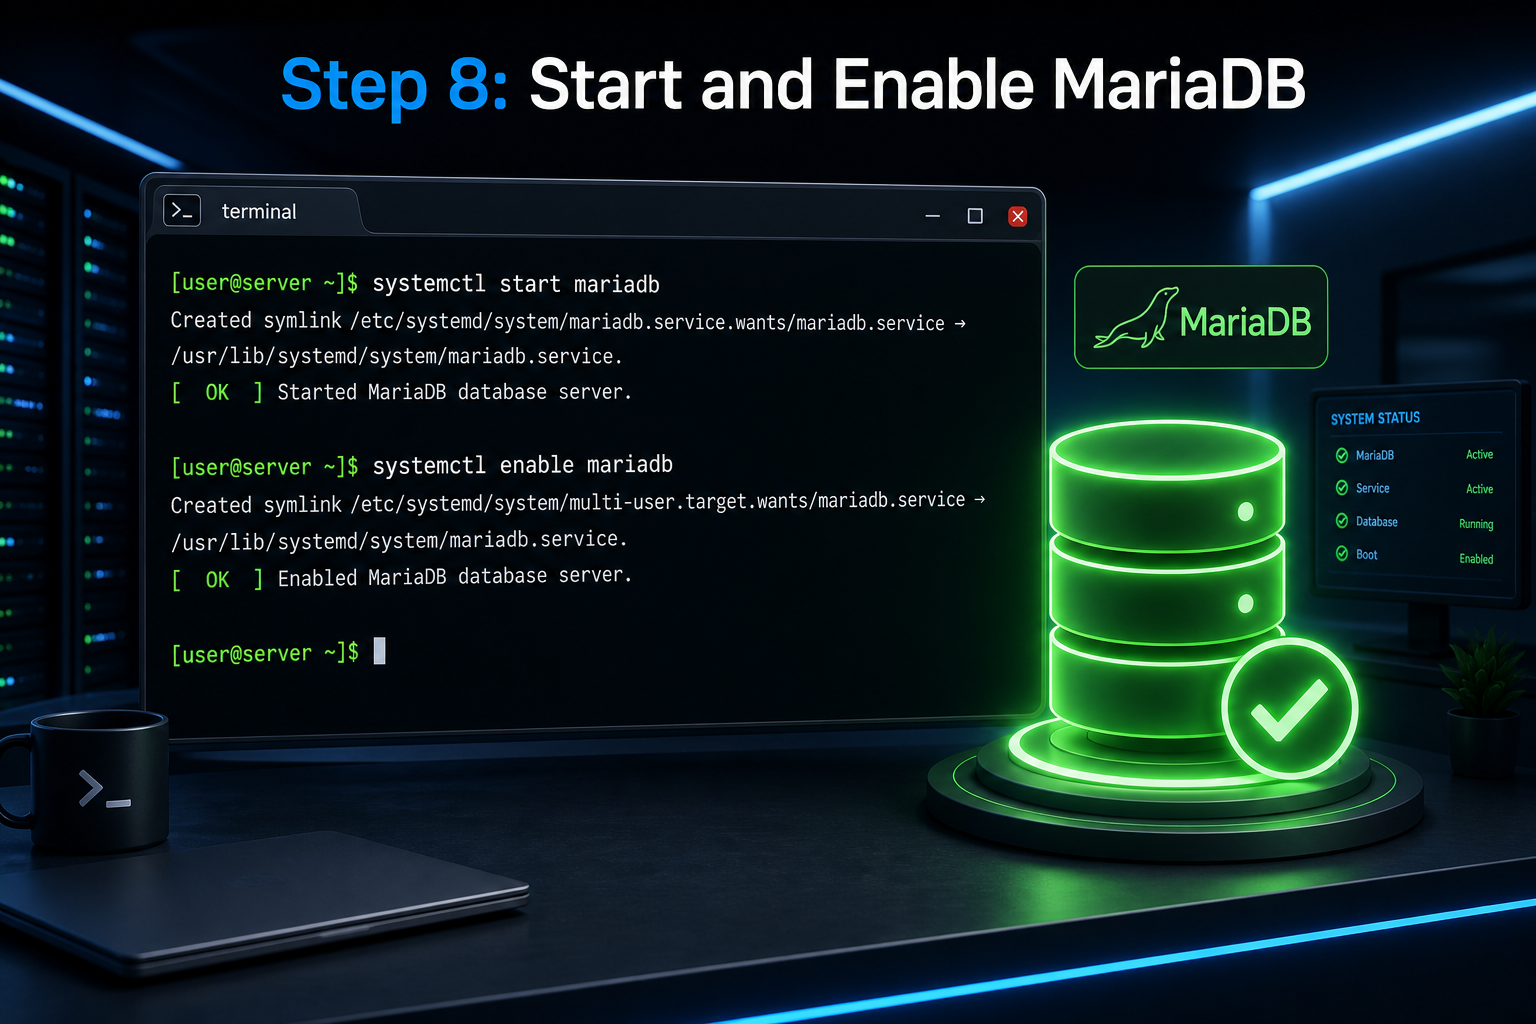
Step 8: Start and Enable MariaDB
Start the database daemon and configure it to initialize on system startup.
Commands:
systemctl start mariadb
systemctl enable mariadb
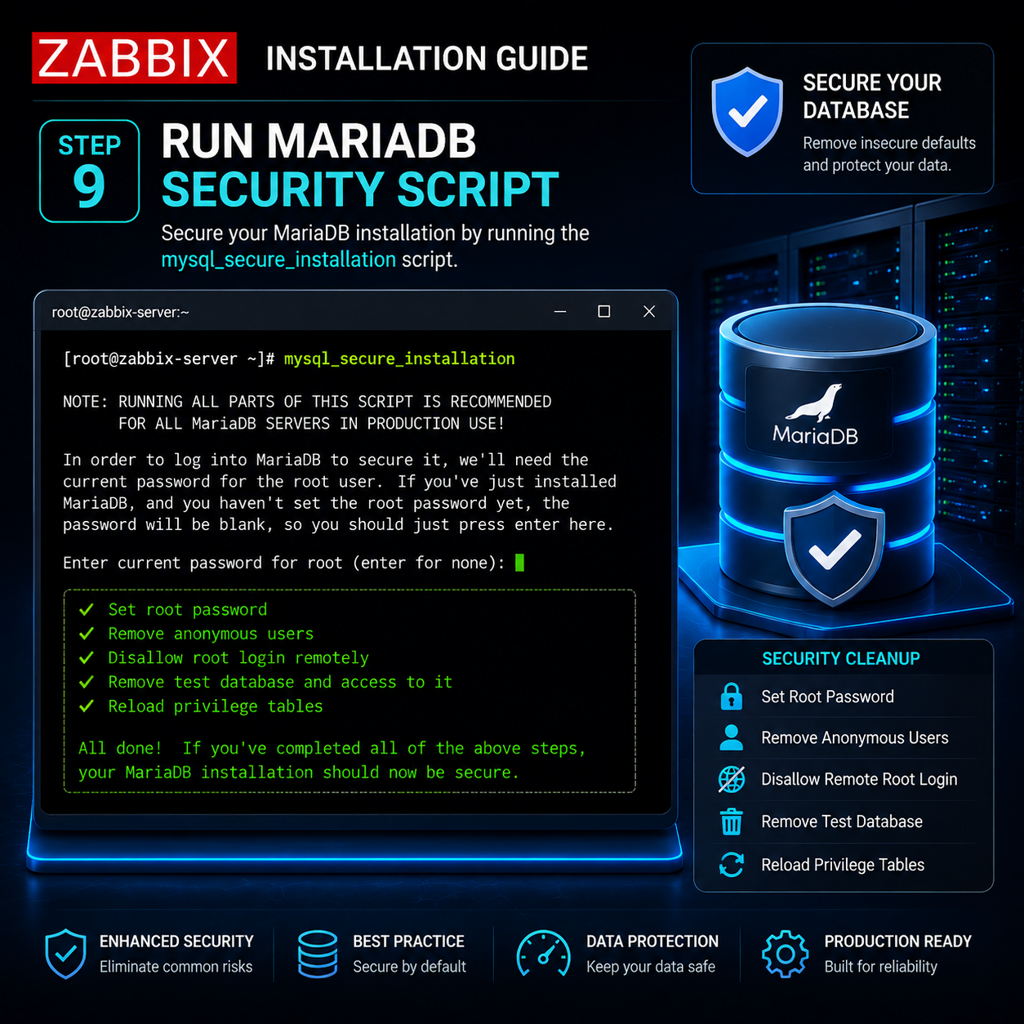
Step 9: Run Database Security Script
The default installation of MariaDB is insecure. Run the built-in security tool to establish a database root password, remove test databases, disable remote root access, and delete anonymous user accounts.
Command:
mysql_secure_installation
Follow the prompts, type Y for confirmation, and specify a strong root password.
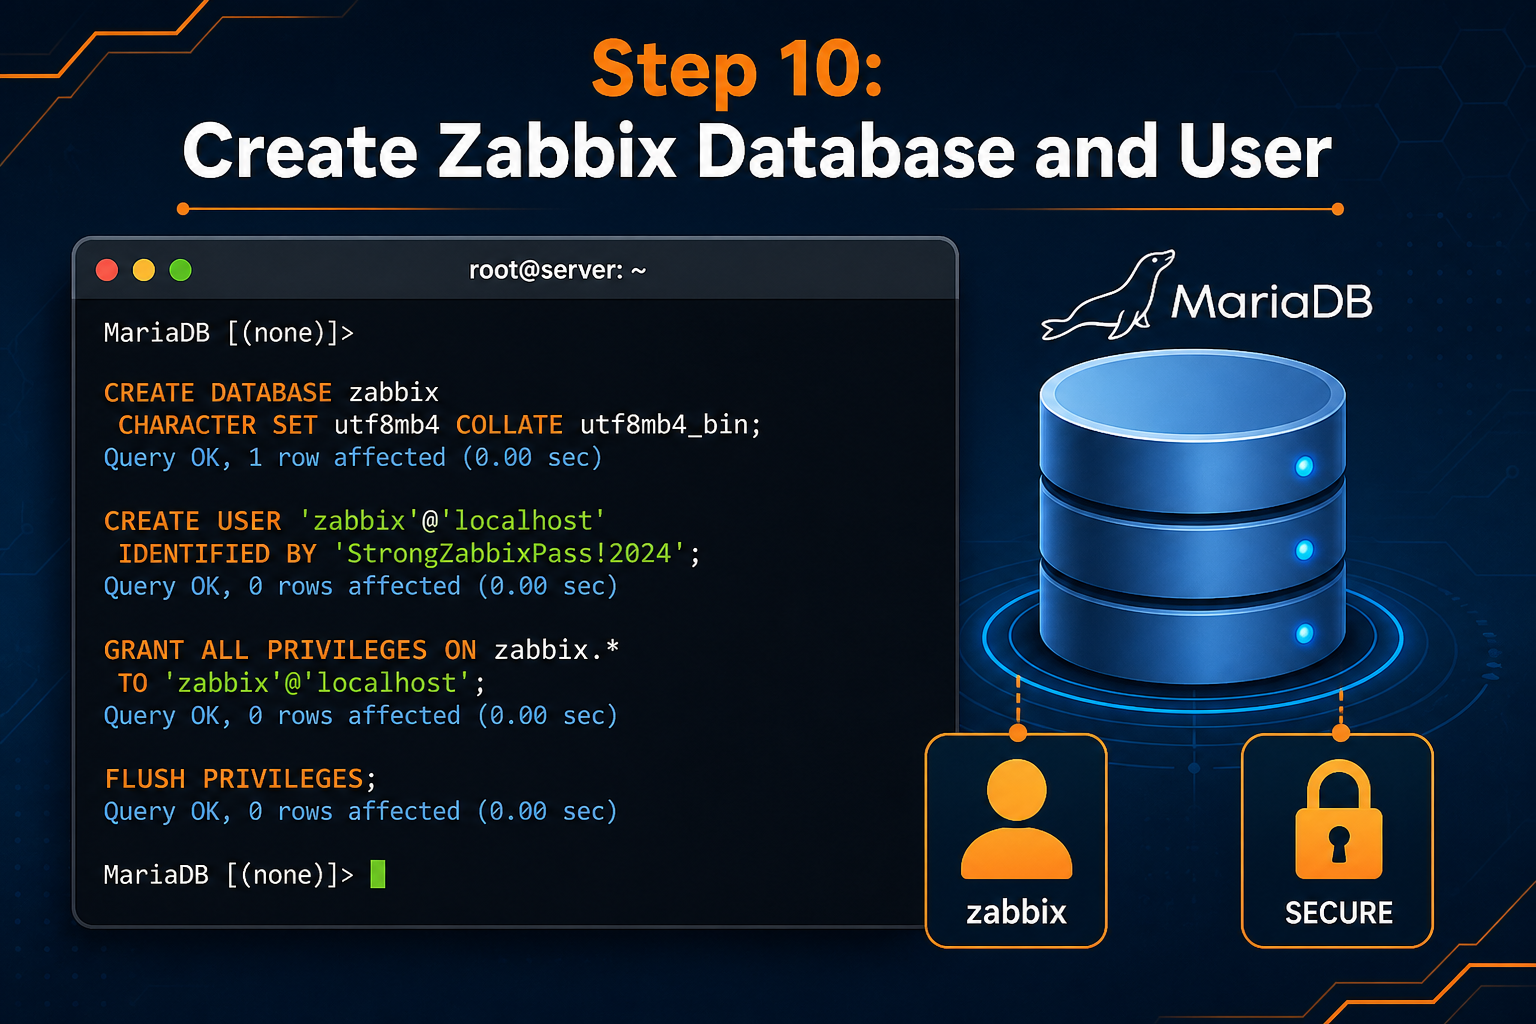
Step 10: Create Zabbix Database and User
Log in to your local MariaDB database server using the root user credentials you just set.
Command:
mysql -u root -p
Run the following SQL commands to create a dedicated UTF-8 database for Zabbix, register a local database user, assign privileges, and update access permissions.
SQL Commands:
create database zabbix character set utf8 collate utf8_bin;
create user zabbix@localhost identified by 'YourStrongPassword';
grant all privileges on zabbix.* to zabbix@localhost;
flush privileges;
quit;
Note: replace YourStrongPassword with a secure phrase of your choice.
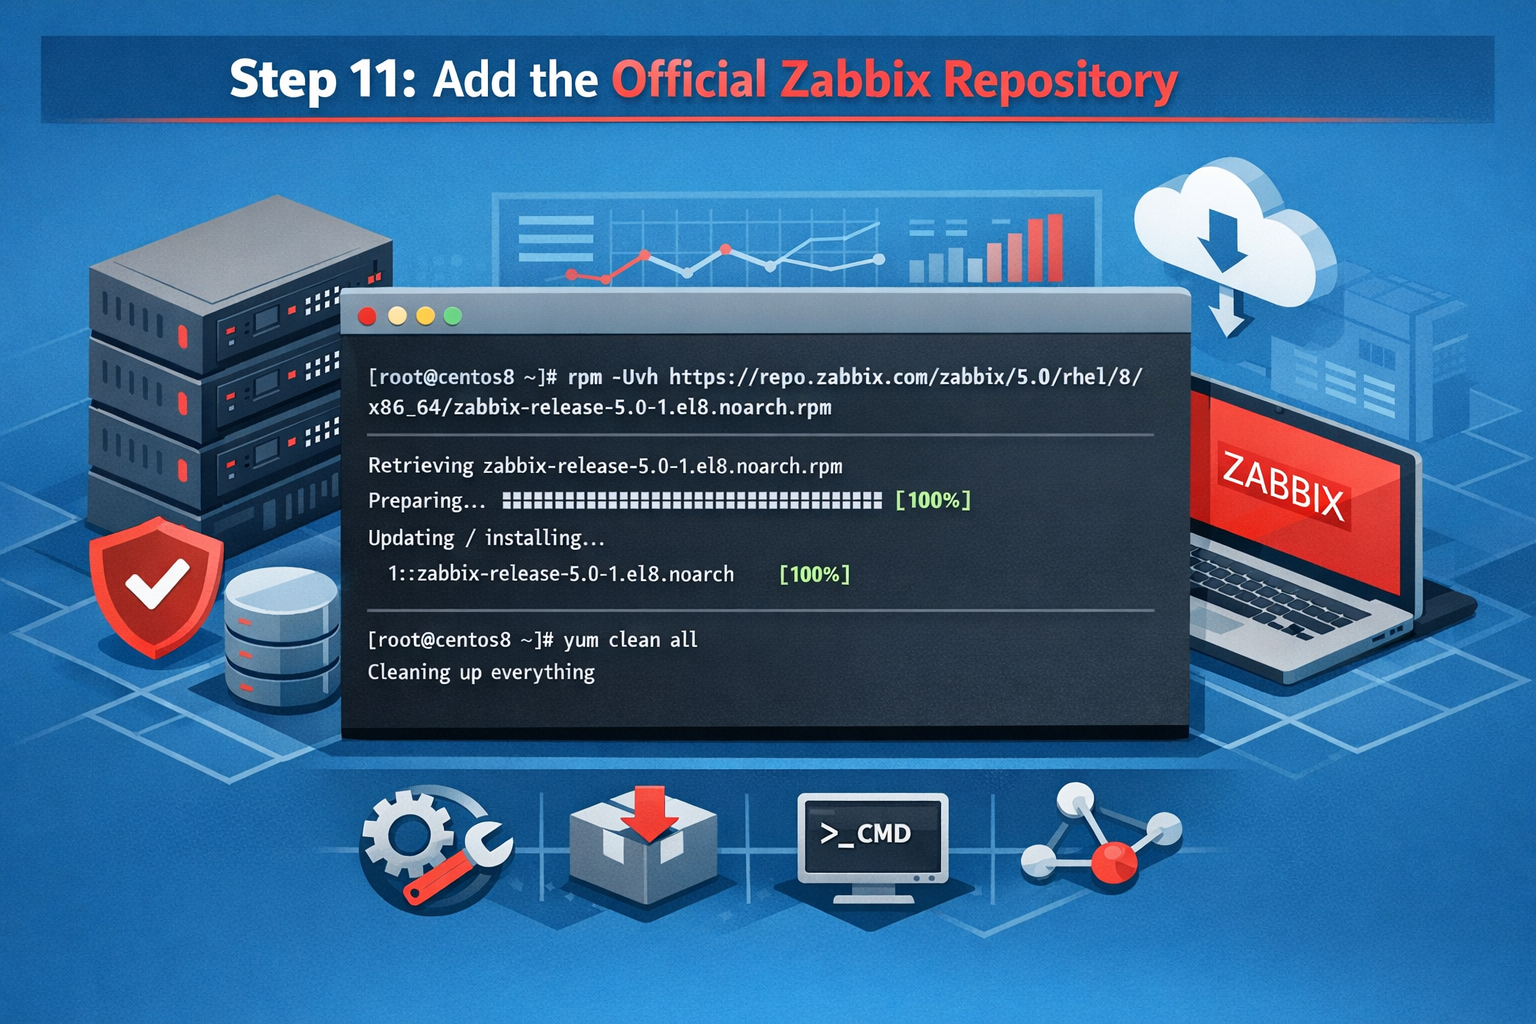
Step 11: Add the Official Zabbix Repository
Zabbix packages are not included in the default RHEL or CentOS repositories. Install the official Zabbix 5.0 LTS release repository to download packages directly from the developers.
Commands:
rpm -Uvh https://repo.zabbix.com/zabbix/5.0/rhel/8/x86_64/zabbix-release-5.0-1.el8.noarch.rpm
yum clean all
Step 12: Install Zabbix Server, Agent, and Web Packages
Download and install the core Zabbix server daemon configured for MySQL/MariaDB, the web application code, Apache integration files, and the Zabbix agent.
Command:
yum install zabbix-server-mysql zabbix-web-mysql zabbix-apache-conf zabbix-agent -y
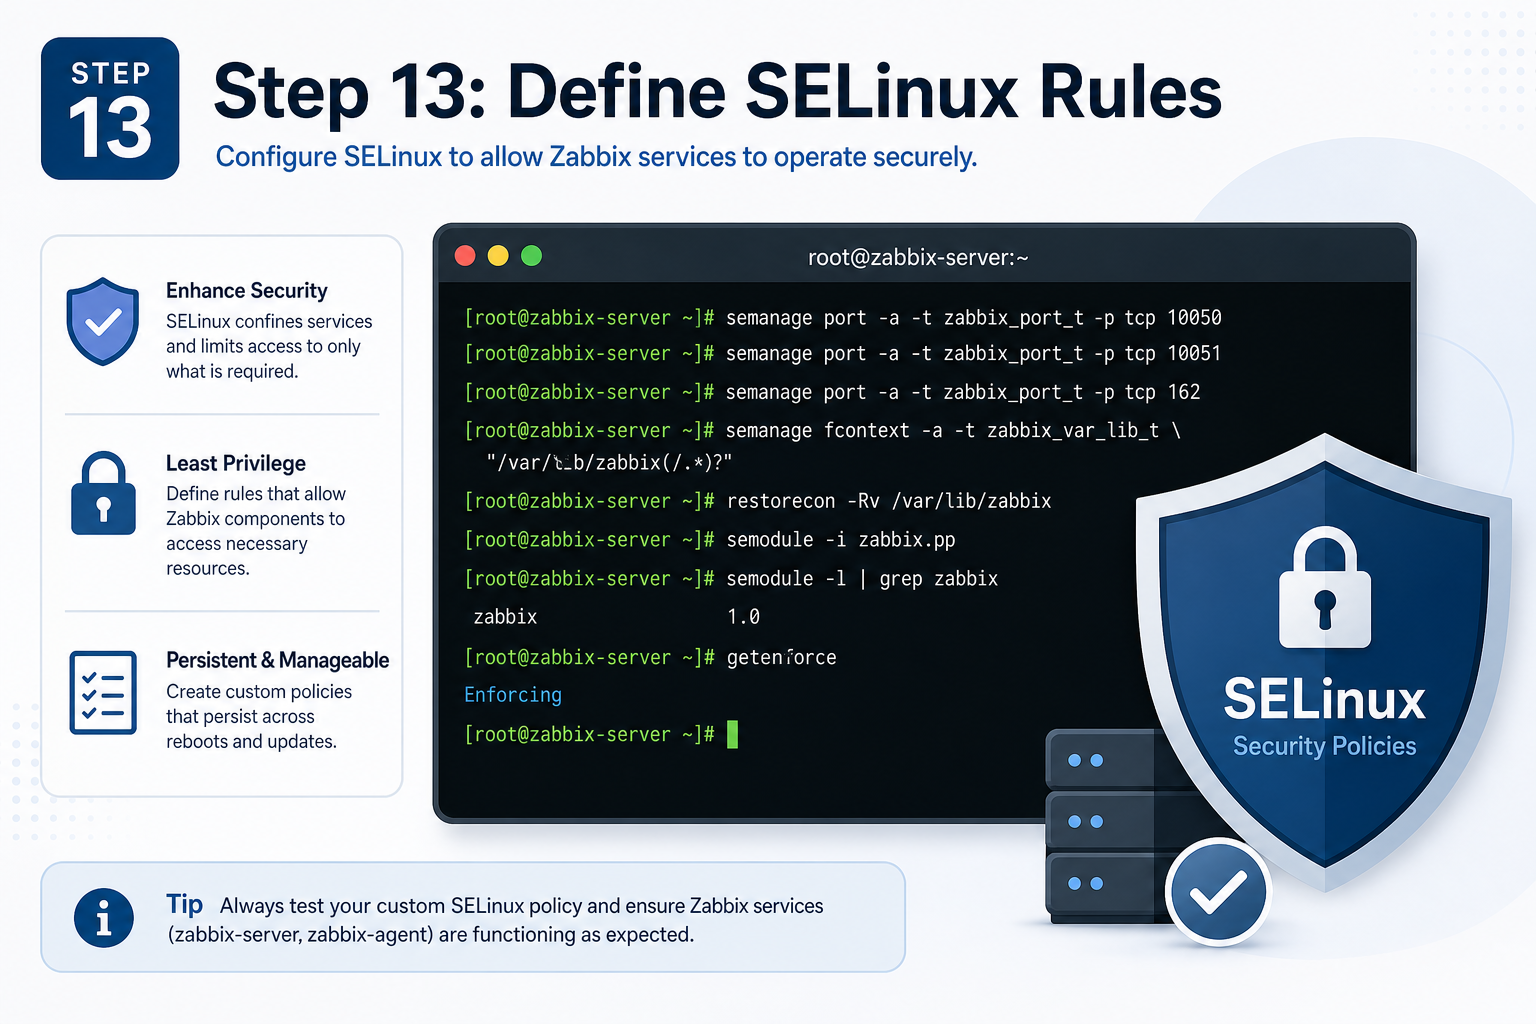
Step 13: Define SELinux Rules for Zabbix
If you decided to keep SELinux active, install the tools required to build custom security policy modules.
Command:
yum install policycoreutils checkpolicy setroubleshoot-server -y
Create a directory to compile custom policies:
mkdir -p ~/zabbix-selinux
cd ~/zabbix-selinux
Create a file named zabbix_server_add.te using a text editor and paste the rules below:
module zabbix_server_add 1.1;
require {
type zabbix_var_run_t;
type tmp_t;
type zabbix_t;
class sock_file { create unlink write };
class unix_stream_socket connectto;
class process setrlimit;
class capability dac_override;
}
allow zabbix_t self:process setrlimit;
allow zabbix_t self:unix_stream_socket connectto;
allow zabbix_t tmp_t:sock_file { create unlink write };
allow zabbix_t zabbix_var_run_t:sock_file { create unlink write };
allow zabbix_t self:capability dac_override;
Compile and load the policy module:
checkmodule -M -m -o zabbix_server_add.mod zabbix_server_add.te
semodule_package -m zabbix_server_add.mod -o zabbix_server_add.pp
semodule -i zabbix_server_add.pp
Grant permissions for Apache and Zabbix to establish network connections:
setsebool -P httpd_can_network_connect 1
setsebool -P httpd_can_connect_zabbix 1
setsebool -P zabbix_can_network on
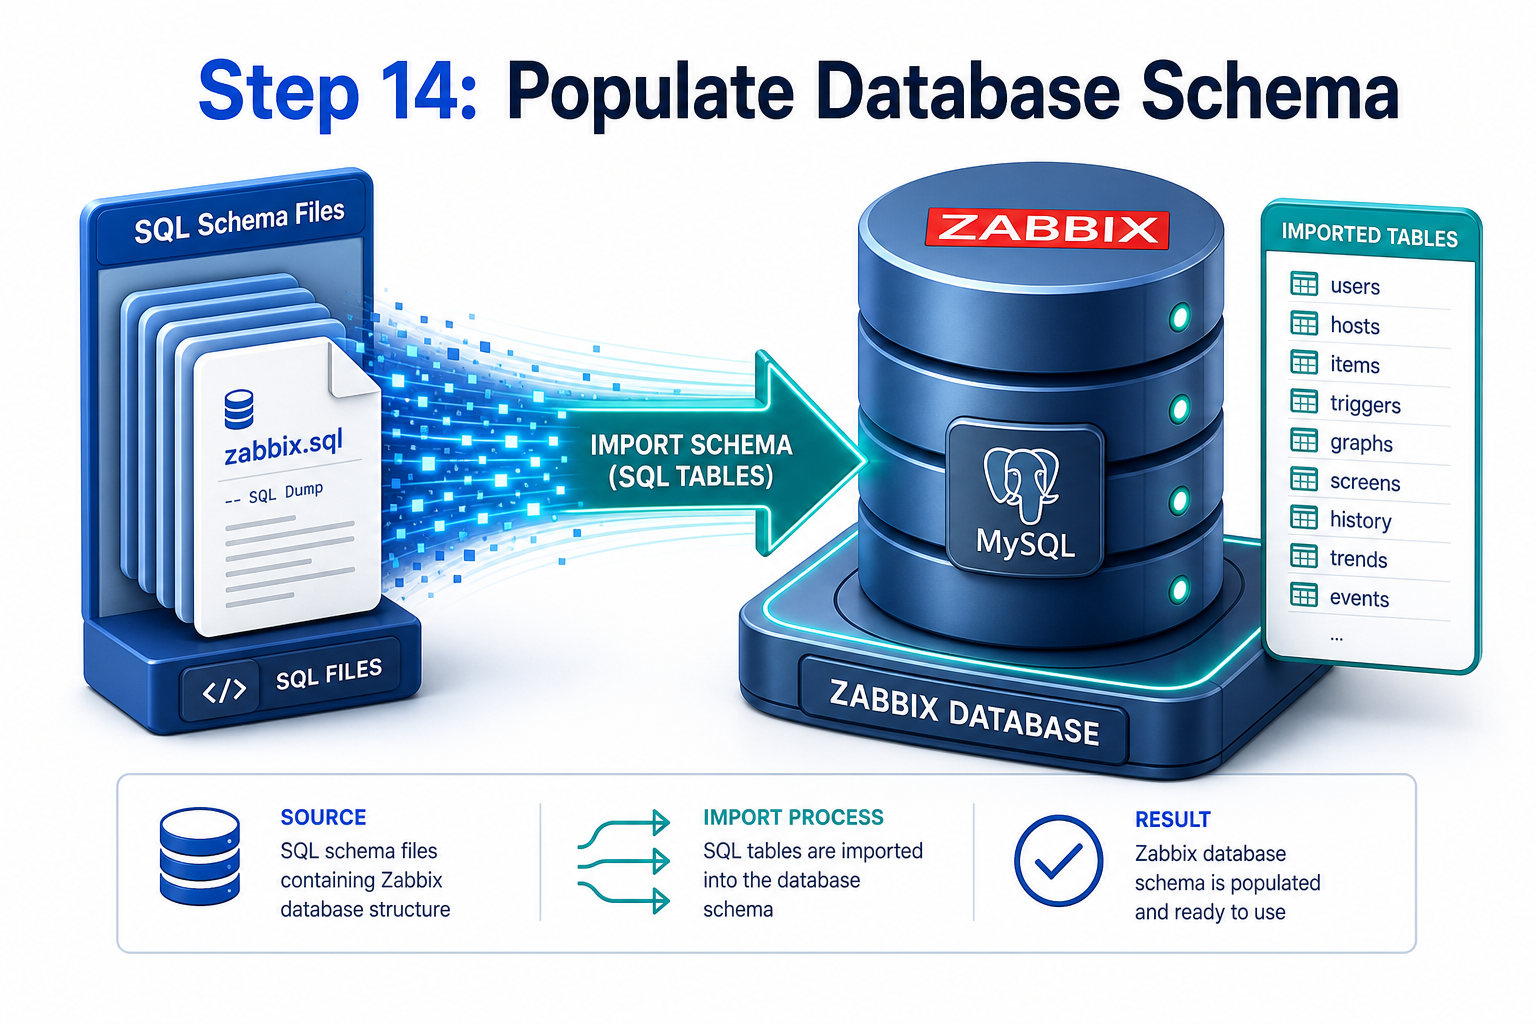
Step 14: Populate the Zabbix Database Schema
The database created in Step 10 is empty. Import the initial structure, tables, and default data schema provided by the Zabbix package into the zabbix database.
Command:
zcat /usr/share/doc/zabbix-server-mysql*/create.sql.gz | mysql -uzabbix -p zabbix
You will be prompted to enter the database password you created for the zabbix user.
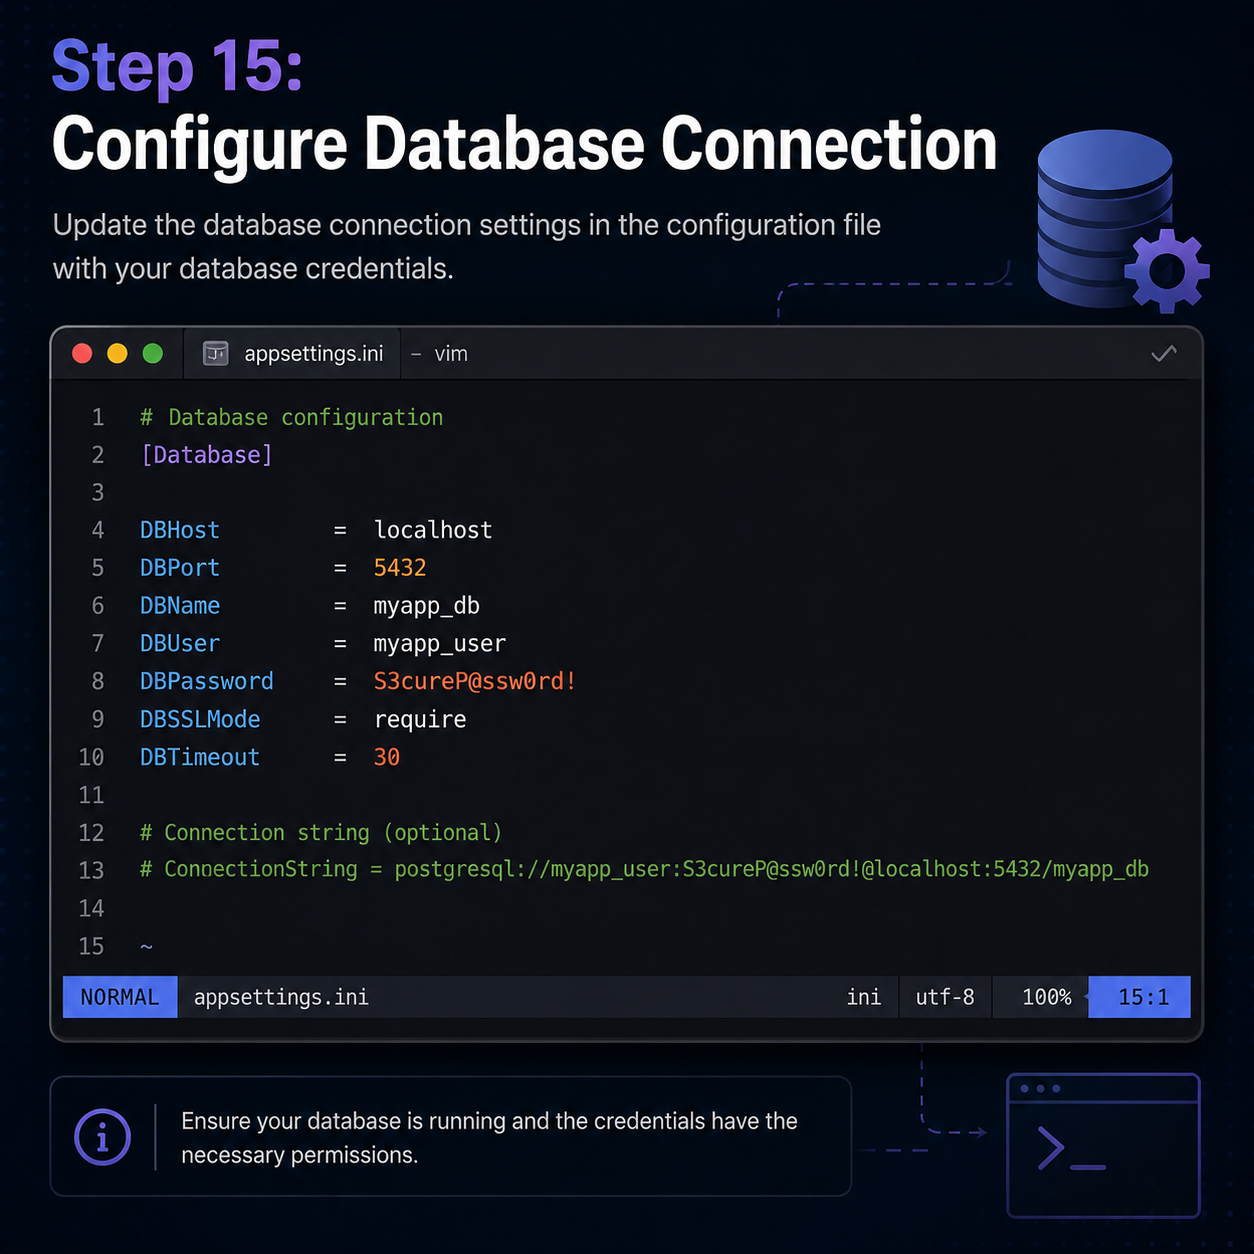
Step 15: Configure Database Connection in Zabbix Server
Edit the Zabbix server configuration file to instruct the daemon how to connect to MariaDB.
Command:
vi /etc/zabbix/zabbix_server.conf
Locate the database parameters in the file, uncomment them if needed, and configure them as follows:
DBHost=localhost
DBName=zabbix
DBUser=zabbix
DBPassword=YourStrongPassword
Save and close the file.
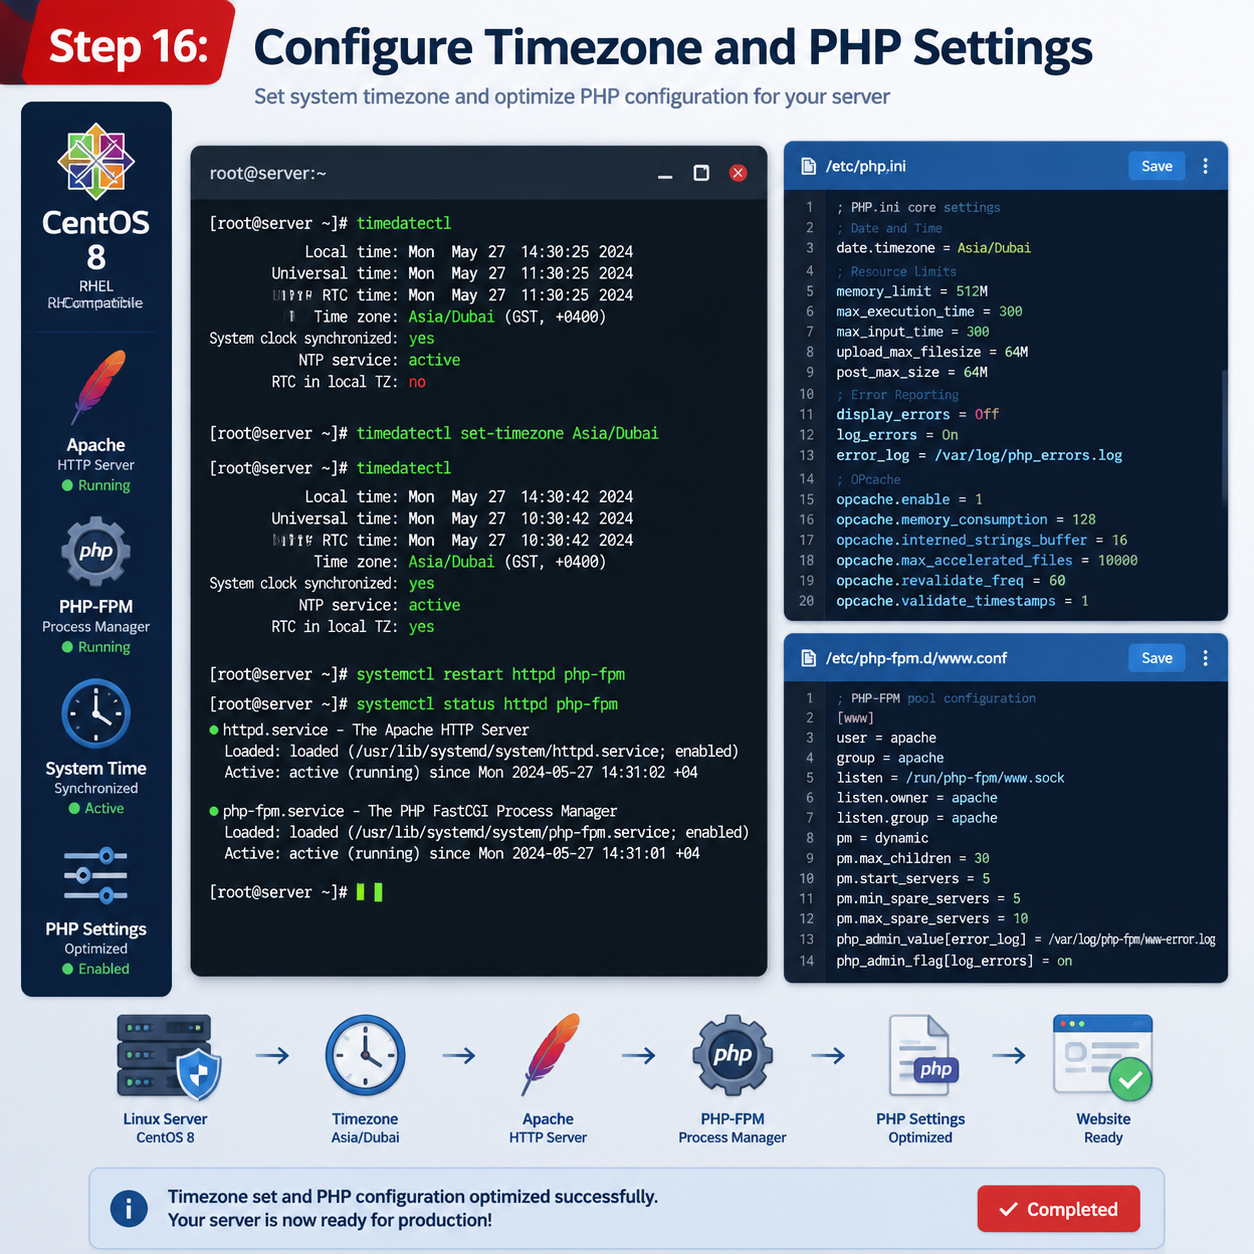
Step 16: Configure Timezone and PHP Settings
Adjust the timezone settings specifically for Zabbix PHP sessions.
Command to open the configuration:
vi /etc/php-fpm.d/zabbix.conf
Find the timezone line, remove the semicolon at the beginning, and input your regional location:
php_value[date.timezone] = America/New_York
Next, adjust the limits inside the global php.ini file:
Command:
vi /etc/php.ini
Verify or modify the parameters to match the values below:
date.timezone = America/New_York
memory_limit = 128M
post_max_size = 16M
upload_max_filesize = 2M
max_execution_time = 300
max_input_time = 300
session.auto_start = 0
Save and close the file, then restart httpd and php-fpm to apply the new settings:
systemctl restart httpd php-fpm
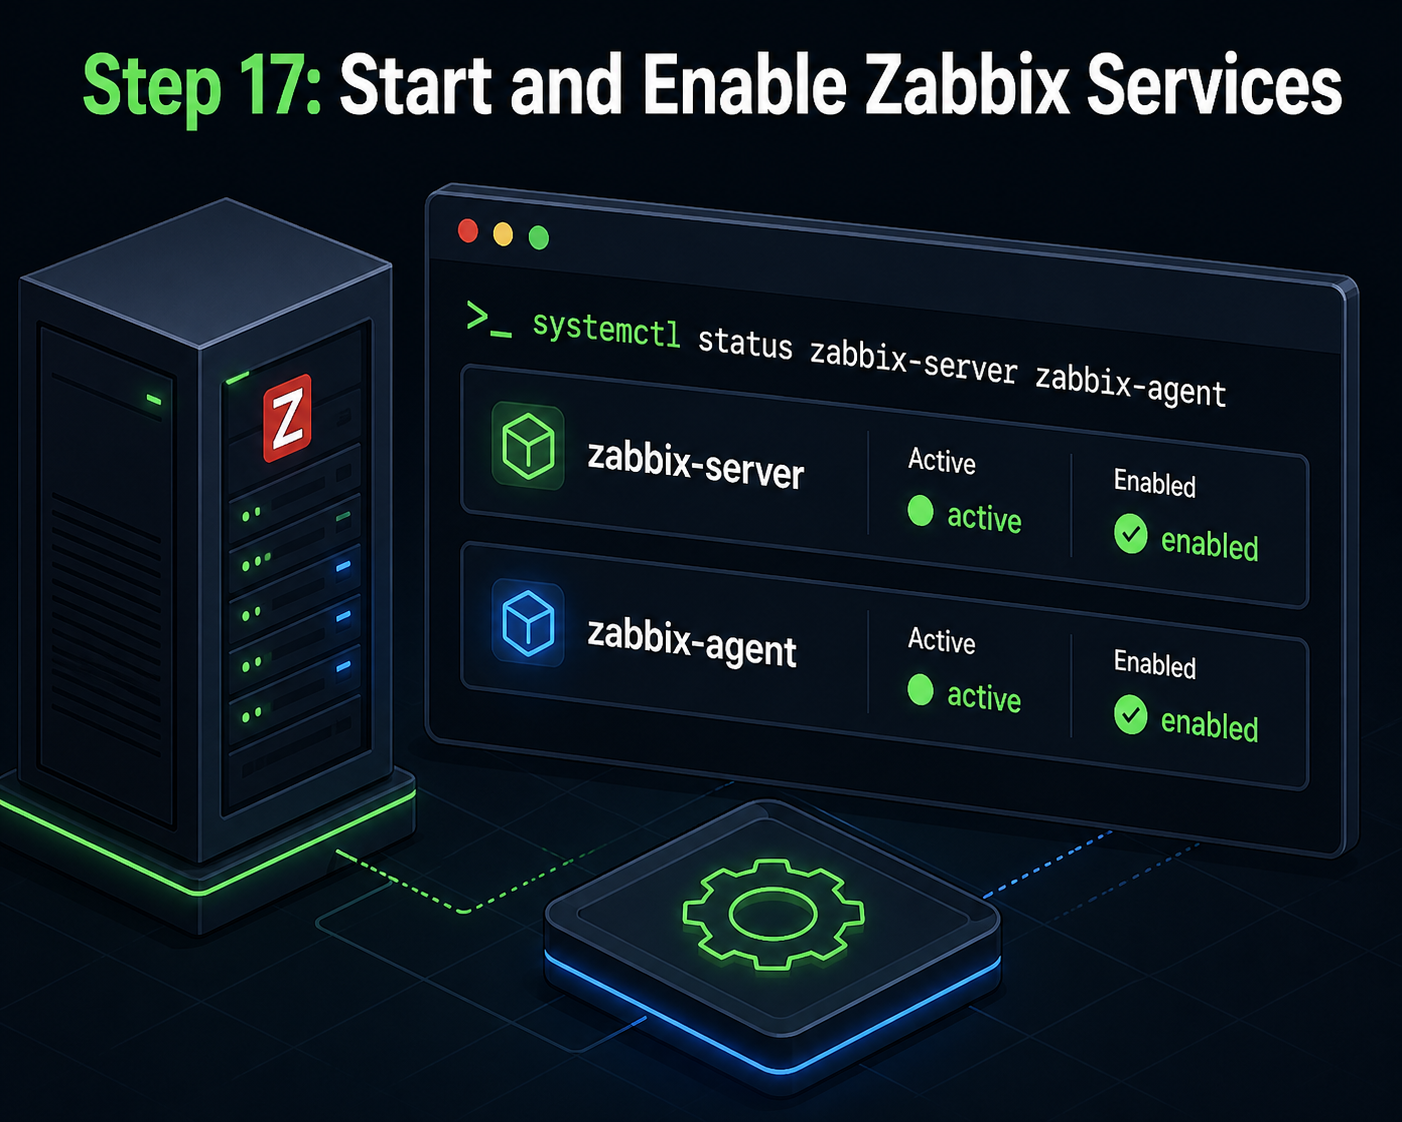
Step 17: Start and Enable Zabbix Services
Launch the Zabbix server and agent daemons, then enable them to run automatically at startup.
Commands:
systemctl restart zabbix-server zabbix-agent
systemctl enable zabbix-server zabbix-agent
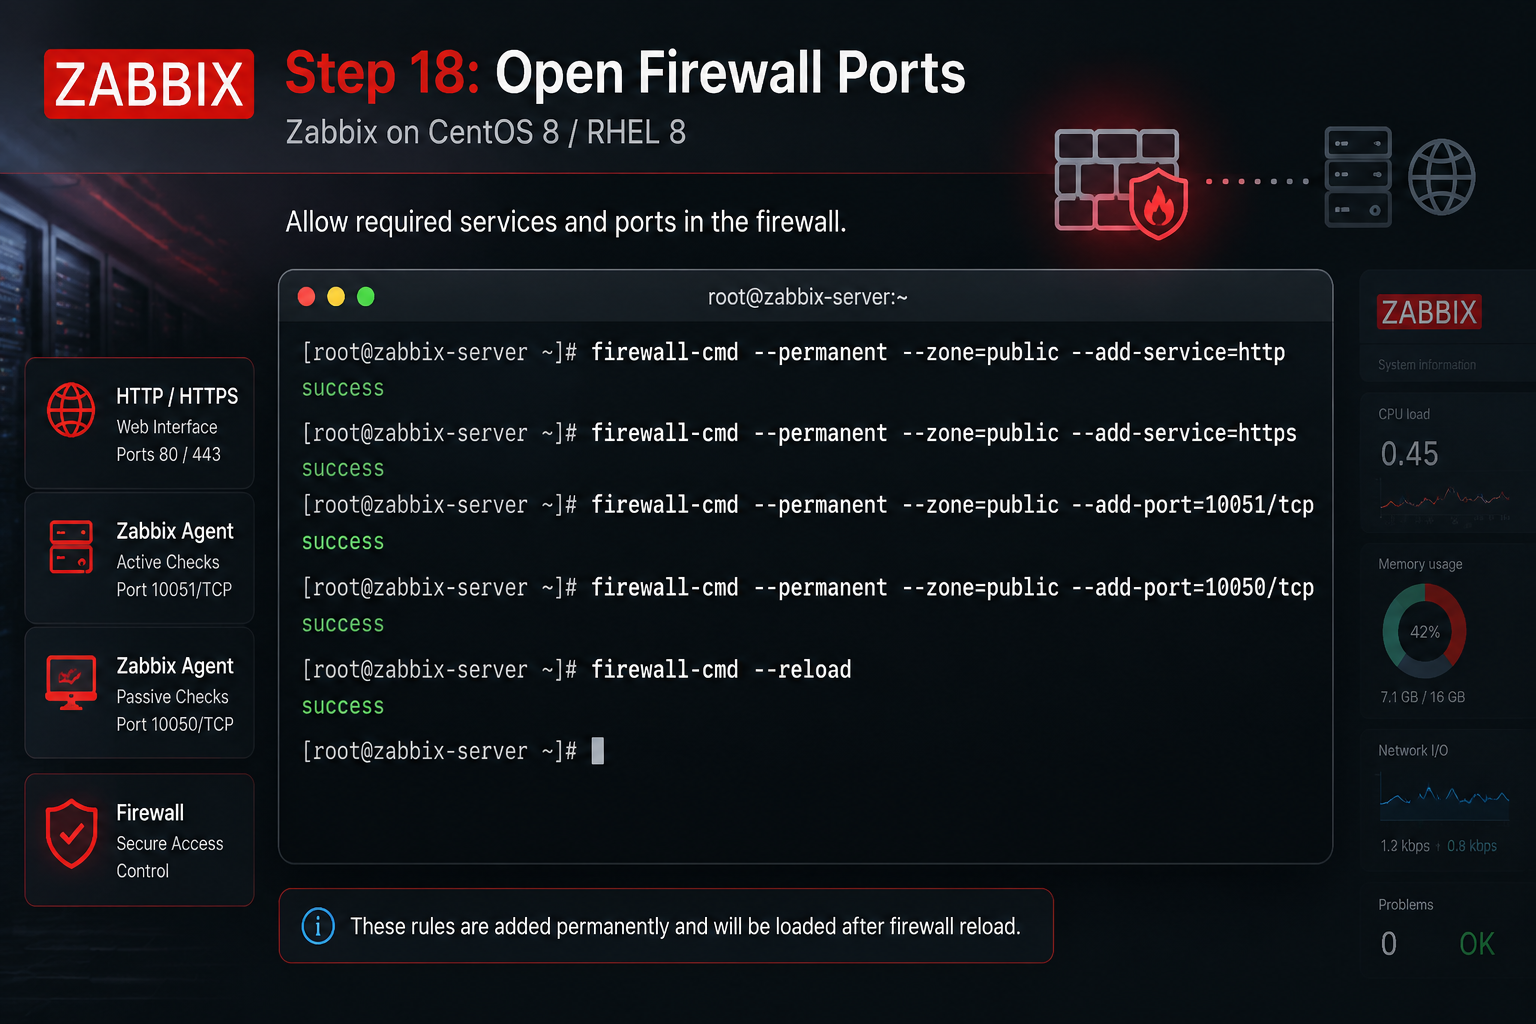
Step 18: Open Ports in the System Firewall
Open the web ports (80 for HTTP and 443 for HTTPS) as well as the communication ports used by the Zabbix server (10051) and Zabbix agent (10050).
Commands:
firewall-cmd --permanent --zone=public --add-service=http
firewall-cmd --permanent --zone=public --add-service=https
firewall-cmd --permanent --zone=public --add-port=10051/tcp
firewall-cmd --permanent --zone=public --add-port=10050/tcp
firewall-cmd --reload
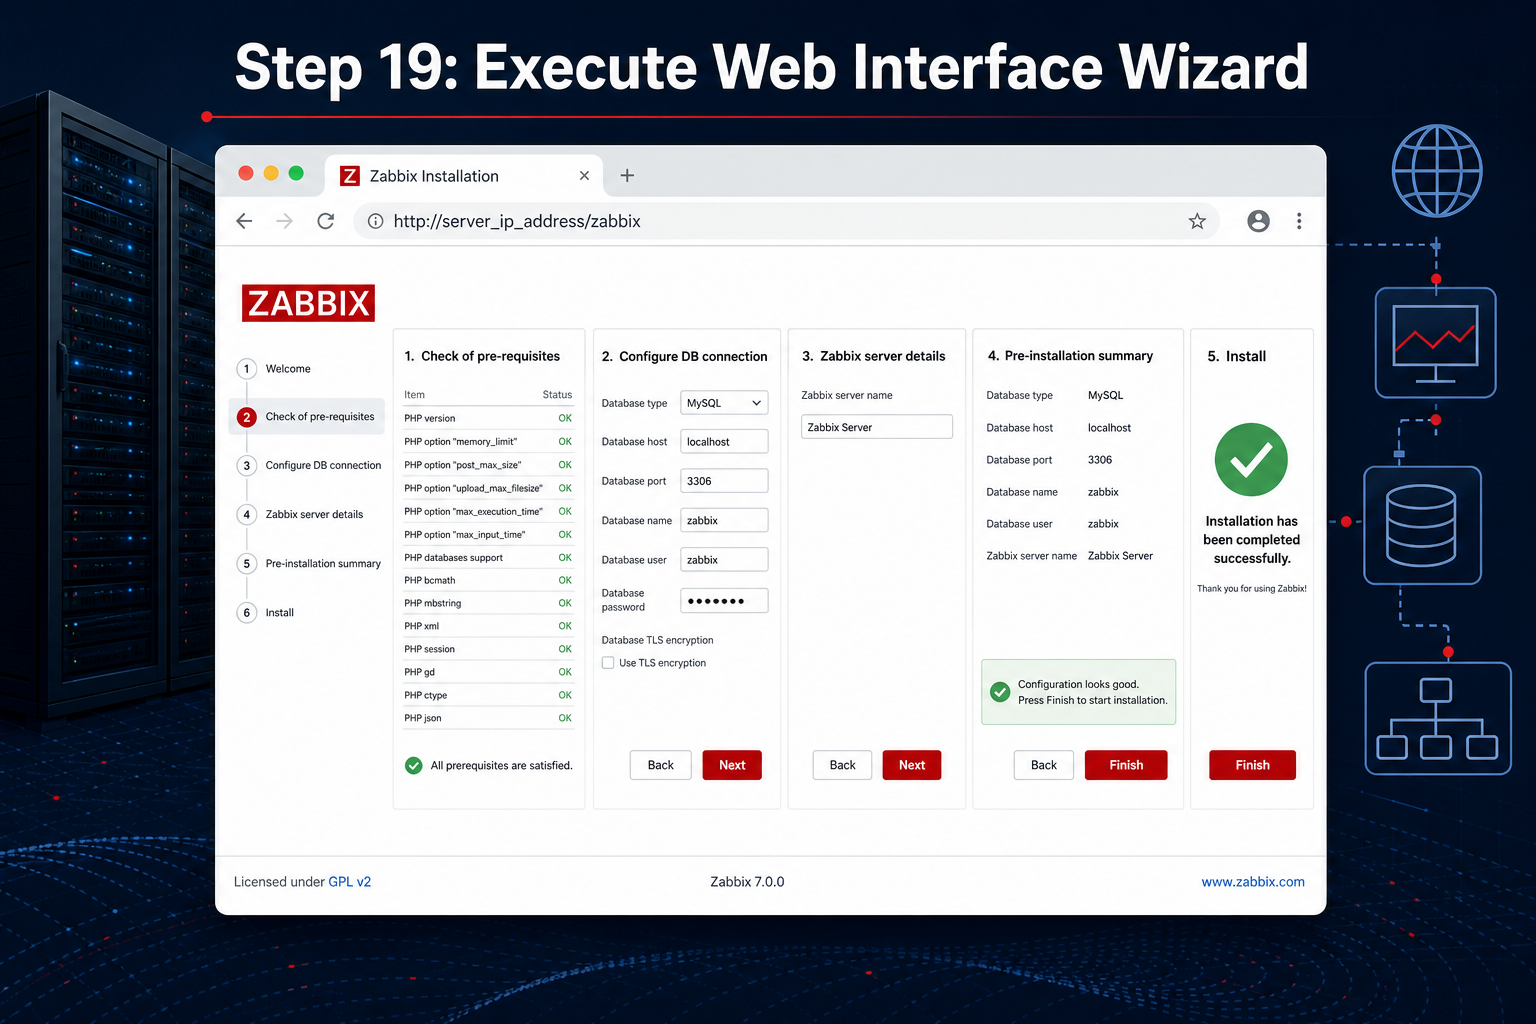
Step 19: Execute Web Interface Wizard
Open a web browser on your computer and navigate to:
http://server_ip_address/zabbix
Replace server_ip_address with the IP address of your server. Follow the on-screen steps:
Verify all prerequisite components are marked OK.
Input your database connection settings, including the user password.
Provide an optional server name.
Review the installation configuration summary.
Click Finish.
Step 20: Access the Control Panel Dashboard
The system will redirect you to the login screen.
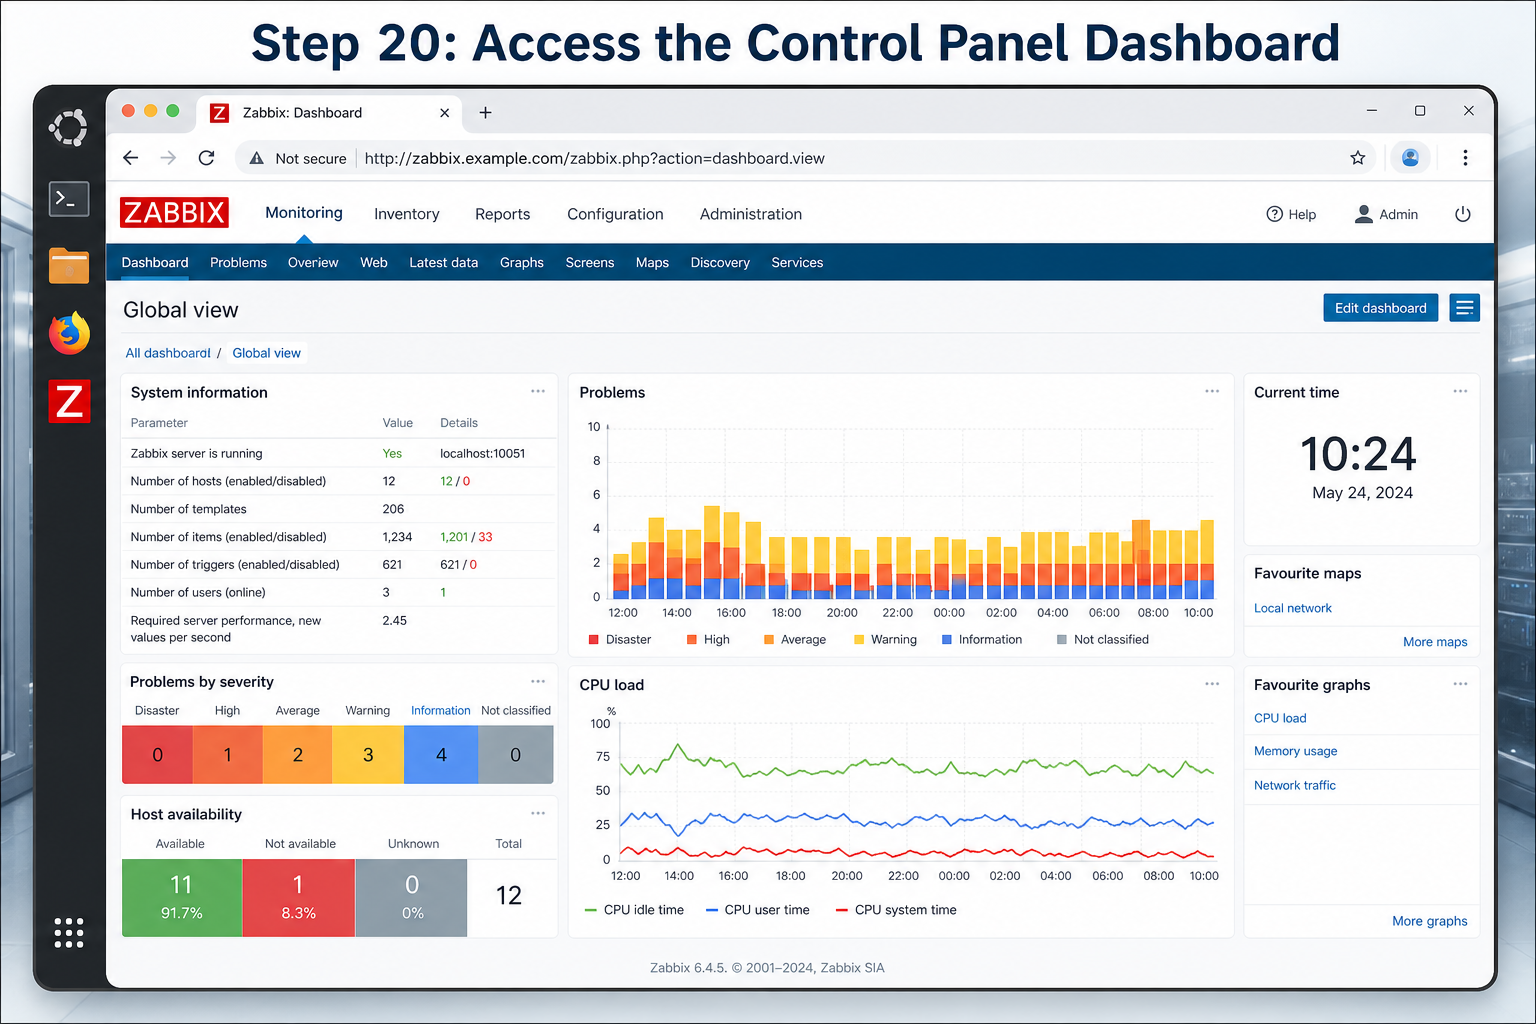
Default Admin Credentials:
Username: Admin
Password: Zabbix
Once logged in, navigate immediately to user settings and change the default admin password to secure the portal.