Step-by-Step Guide: Installing and Configuring OpenVPN on Debian
Contents
OpenVPN is one of the most widely trusted VPN platforms in the world for building secure, encrypted tunnels between devices and networks. When deployed on a Debian server, it becomes a powerful solution for privacy, remote access, and secure communication. This comprehensive guide will show you exactly how to install and configure OpenVPN on Debian step-by-step, explain how it works, and help you troubleshoot common problems without needing a table.
This guide covers everything from basics to advanced configuration, so both beginners and experienced Linux users can follow along easily.
1. What is OpenVPN and Why Should You Use It on Debian?
OpenVPN is an open-source virtual private network solution that creates secure tunnels over the internet using TLS/SSL encryption. It protects your data from hackers, ISPs, and surveillance systems. Debian is one of the best Linux distributions for running OpenVPN because of its stability, security patches, and performance.
Key advantages of OpenVPN on Debian
- Strong AES-256 encryption
- Free and open-source
- Works behind NAT and firewalls
- Cross-platform compatibility
- Perfect for remote workers and servers
- Supports TLS authentication
- Excellent community support
What OpenVPN is commonly used for
- Secure remote employee access
- Hiding the real IP address
- Preventing ISP tracking
- Bypassing geo-blocking
- Connecting office branches
- Gaming security and latency control
- Secure IoT network connections
Debian is frequently deployed on VPS platforms such as DigitalOcean, AWS, Google Cloud, Hetzner, and on local servers, making it an ideal backbone for OpenVPN.
2. How to Install OpenVPN on Debian – Step-by-Step Tutorial
Follow the steps carefully in sequence.
Step 1: Update your Debian server
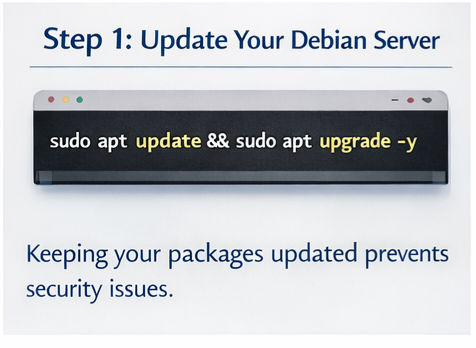
Keeping your packages updated prevents security issues:
sudo apt update && sudo apt upgrade -y
Step 2: Install OpenVPN and Easy-RSA
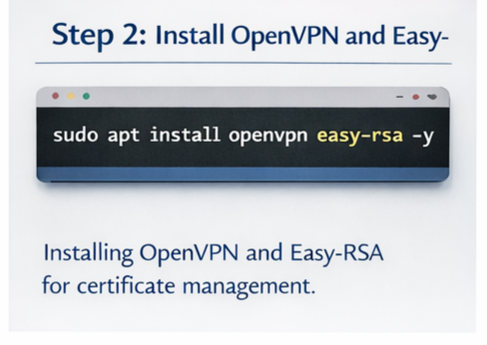
Easy-RSA helps generate encryption keys and certificates.
sudo apt install openvpn easy-rsa -y
Step 3: Create the Public Key Infrastructure (PKI)
make-cadir ~/openvpn-cacd ~/openvpn-ca
Initialize environment:
source vars./clean-all./build-ca
Step 4: Create the server certificate and key
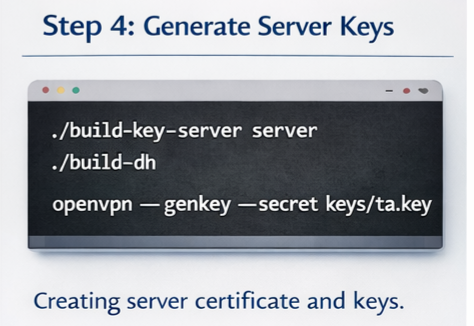
./build-key-server server./build-dhopenvpn --genkey --secret keys/ta.key
Step 5: Configure the OpenVPN server
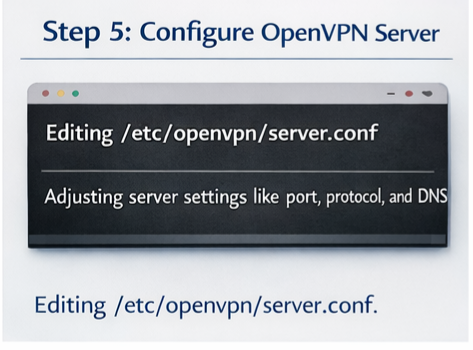
Copy sample server configuration:
gunzip -c /usr/share/doc/openvpn/examples/sample-config-files/server.conf.gz | sudo tee /etc/openvpn/server.conf
Edit configuration:
sudo nano /etc/openvpn/server.conf
Important parameters to review:
- Port number (default 1194)
- Protocol (UDP recommended)
- Cipher method
- TLS authentication
- Keepalive settings
- DNS push settings
Step 6: Enable packet forwarding

Open sysctl configuration:
sudo nano /etc/sysctl.conf
Uncomment:
net.ipv4.ip_forward=1
Apply the change:
sudo sysctl -p
Step 7: Configure firewall rules (UFW or iptables)
Allow OpenVPN traffic:
sudo ufw allow 1194/udp
Allow forwarding:
sudo ufw allow OpenSSHsudo ufw enable
For the iptables masquerading example:
sudo iptables -t nat -A POSTROUTING -s 10.8.0.0/24 -o eth0 -j MASQUERADE
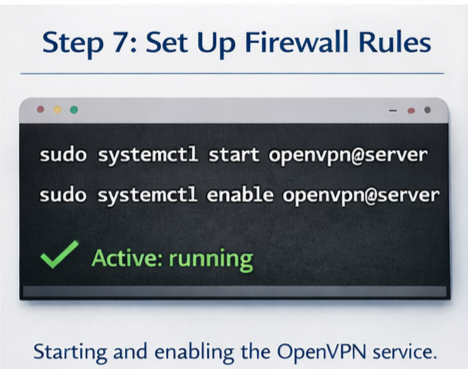
Step 8: Start and enable the OpenVPN service
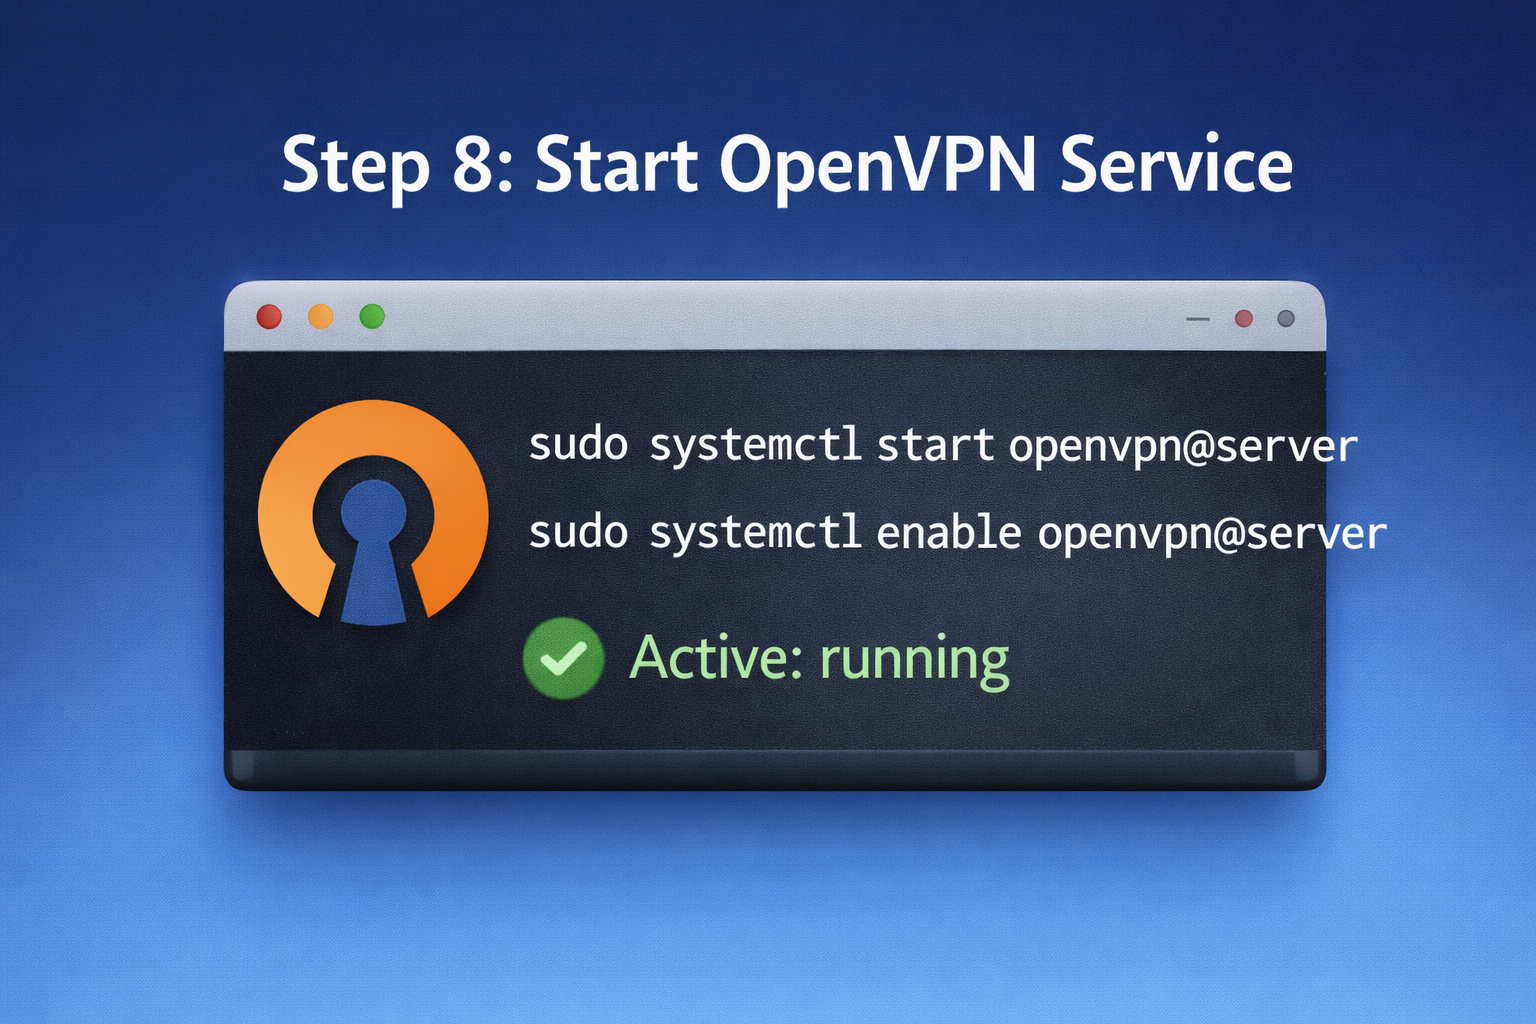
sudo systemctl start openvpn@serversudo systemctl enable openvpn@server
Check status:
sudo systemctl status openvpn@server
Your OpenVPN server is now ready.
3. How to Configure OpenVPN Client Files
Clients need:
- CA certificate
- Client certificate
- Client key
- key
- .ovpn configuration file
Export client profile:
./build-key client1
Create a combined client file structure for easy import on Windows/Android.
4. Common OpenVPN Problems and How to Fix Them (No Table Format)
Below are the most frequent errors and how to resolve them in plain text format.
❌ OpenVPN service does not start
➡️ Incorrect configuration or missing certificates
✔️ Solution: check logs
sudo journalctl -u openvpn@server --no-pager
❌ Client cannot connect to the server
➡️ Firewall blocking traffic
✔️ Solution: open UDP port 1194
❌ Connected but no internet
➡️ IP forwarding disabled
✔️ Solution: enable in sysctl, then reload
❌ TLS handshake failed
➡️ Authentication key mismatch
✔️ Solution: verify same ta. The key is used on both sides
❌ Connection is slow
➡️ Network congestion or wrong protocol
✔️ Solution: Try switching TCP/UDP or ports
❌ DNS leaks
➡️ Client not using VPN DNS
✔️ Solution: push DNS config in server.conf
❌ Frequent disconnections
➡️ Missing keepalive configuration
✔️ Solution: add keepalive 10 120
❌ No traffic passes
➡️ Missing NAT rules
✔️ Solution: configure iptables masquerade
❌ Permission denied
➡️ Not running as root
✔️ Solution: run OpenVPN using sudo
5. Best Practices for Optimizing OpenVPN on Debian
To improve security and performance:
- Use UDP whenever possible
- Change the default VPN port
- Use modern encryption suites
- Monitor logs regularly
- Rotate client certificates
- Use fail2ban for brute-force protection
- Keep Debian updated
- Disable weak ciphers
- Prefer AES-GCM over AES-CBC
- Avoid password-only authentication
Conclusion
Installing OpenVPN on Debian is one of the best ways to secure communications, protect privacy, and enable remote access to private networks. By carefully following the step-by-step instructions above, enabling IP forwarding, configuring firewall rules, and generating proper certificates, you can create a reliable and secure VPN environment.
With the troubleshooting guide and FAQs included, beginners can solve most issues without external help. Whether you’re using Debian for personal privacy, corporate security, or remote administration, OpenVPN remains one of the strongest, most flexible VPN solutions available today.

how much for eye lens replacement
14 February 2026My programmer is trying to persuade me too move to
.net from PHP. I have always dislikewd the idea because of the
costs. But he’s tryiong none the less. I’ve been using WordPress on a variety of websites for about a year and am anxxious about switching to
another platform. I have heard good things about blogengine.net.
Is there a way I can import all my wordpress posts into it?
Any kind oof help would be greatly appreciated!
ALis
22 February 2026Thanks for sharing your thoughts! WordPress is a very flexible platform and many websites continue to use it successfully for years, especially because of its large ecosystem of plugins and themes. Moving to another platform like .NET or BlogEngine can work too, but it usually depends on your project needs, budget, and development plans.
Regarding your question, it is possible to export your content from WordPress and import it into other platforms, though the process may require some adjustments or migration tools depending on the system you choose. If WordPress is currently working well for you, it might be worth evaluating the benefits carefully before making a full switch. Hope this helps!
Lowongan Kerja
14 February 2026Hi there! Someone in my Facebook group shared this site
with us so I came to look it over. I’m definitely loving the information. I’m bookmarking and will be
tweeting this to my followers! Excellent blog and amazing
design.
ALis
22 February 2026Thank you so much for visiting and for your kind words! We’re really glad you found the content helpful. It’s great to hear that the site was shared in your Facebook group as well. We truly appreciate you bookmarking and sharing it with your followers. Thanks for the support!
تثبيت 1xbet apk يدوي
14 February 2026My spouse and I absolutely love your blog and find nearly all of
your post’s to be just what I’m looking for. Would you offer guest writers to write content available for
you? I wouldn’t mind producing a post or elaborating on a
lot of the subjects you write with regards to here. Again, awesome
web site!
ALis
22 February 2026Thank you so much for your kind feedback! We’re really happy to hear that you and your spouse enjoy the blog and find the articles useful. We truly appreciate your interest in contributing as well. At the moment we’re carefully reviewing guest post opportunities, but feel free to stay in touch and follow our updates. Thanks again for your support!
Penyakit Pernapasan
14 February 2026Hi, I do believe this is a great site. I stumbledupon it 😉 I may return once again since
I book-marked it. Money and freedom is the best way to change,
may you be rich and continue to help other people.
ALis
22 February 2026Thank you for your kind words! We’re really glad you found our website and decided to bookmark it. We hope the content here continues to be helpful and valuable for you. You’re always welcome to visit again!
pankreas nedir
14 February 2026Thiis design is steller! You definitely know how to keep a
reader amused. Between your wit and your videos, I was almost moved to start my own blog (well, almost…HaHa!) Wonderful job.
I really enjoyed what yyou had to say, and more than that,
how you presented it. Too cool!
ALis
22 February 2026Thank you so much for the wonderful feedback! We’re really glad you enjoyed the design and the content. Comments like yours truly motivate us to keep creating helpful and engaging posts. And who knows—maybe one day you really will start that blog! Thanks again for your support.
BUY VIAGRA
14 February 2026Premier adult platforms offer secure and premium content for adults.
Discover safe sites for a quality experience.
ALis
22 February 2026Thank you for your comment. Our goal is to provide helpful and informative content for our visitors. We’re glad you took the time to share your thoughts and hope you continue exploring the articles on our website.
Marjorie
15 February 2026That is very interesting, You’re an overly skilled blogger.
I have joined your feed and sit up for lookinhg for extra of your fantastic post.
Also, I have shared your web site in mmy
social networks
ALis
22 February 2026Thank you so much for your kind words! We’re really happy to hear that you enjoy the blog and find the posts useful. It truly means a lot that you subscribed and even shared our website on your social networks. We appreciate your support and hope you continue enjoying our upcoming articles.
sol kulak çınlaması
16 February 2026When some one searches ffor his required thing, therefore he/she needs to bee available that in detail,
thus that thing is maintained over here.
ALis
22 February 2026Thank you for your comment! You’re absolutely right—when someone is searching for information, clear, detailed content really makes a difference. We’re glad you found the information here helpful, and we’ll continue updating our articles with useful details.
Dillon
17 February 2026Incredible quest there. What occurred after? Take care!
ALis
22 February 2026Thank you! I’m glad you enjoyed the article. In the next updates we’ll be covering more details about this topic, including practical tips and real examples to help readers get better results. Stay tuned, and take care!
http://clarinoticia.com/
17 February 2026I thinkk this is one of the most vital information for me.
And i’m glad reading your article. Butt want to remaark on some general things, The website style is
perfect, the articles is really excellent : D. Good job, cheers
ALis
22 February 2026Thank you so much for your kind words! We’re really happy to hear that you found the article useful and enjoyed the website as well. Your support and feedback mean a lot to us. Cheers!
Oto Servis
19 February 2026Quality articles is the main to invite the visitors
to pay a quick visit the website, that’s what this web page iis providing.
ALis
22 February 2026Thank you for your thoughtful comment! We completely agree—high-quality content is the best way to attract visitors and provide real value. We’re glad you found our website helpful and hope you continue enjoying our articles.
porntude
20 February 2026A really good blog and me back again.
ALis
22 February 2026Thank you so much! I’m really glad you enjoyed the article. Yes, I’m actually planning a second part where I’ll dive deeper into the topic and share more practical tips. Stay tuned!
Fakta Unik
22 February 2026Very energetic article, I enjoyed that a lot.
Will there be a part 2?